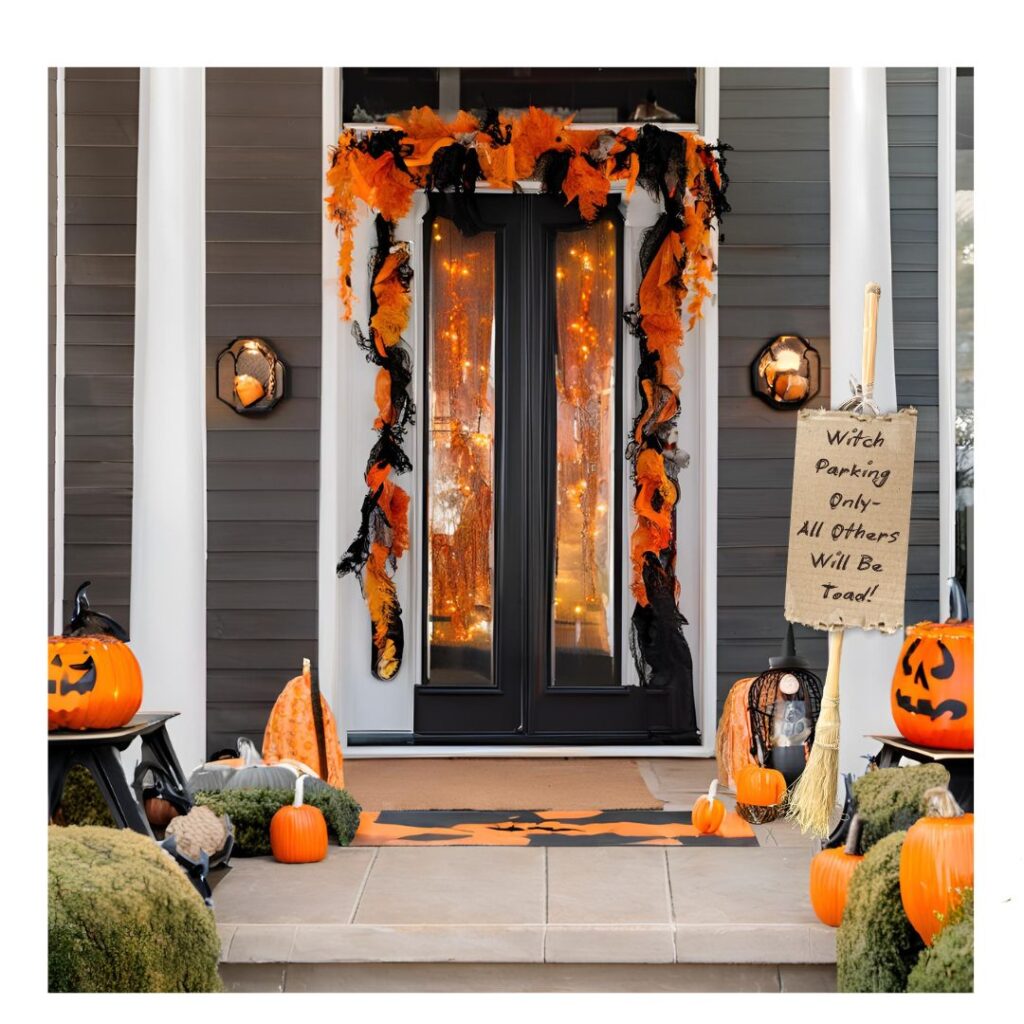
Alright, busy moms, it’s that time of year again when the leaves change colors, the air gets crisp, and our little monsters expect us to transform our homes into the Addams Family mansion overnight. Fear not, my witchy sisters! I’ve conjured up some wickedly easy ideas to give your front door some boo-tiful flair that will transform your front door into a Halloween masterpiece that says “Welcome” to trick-or-treaters and “Get off my lawn!” to any unwanted visitors. Let’s jump right into some DIYs that are so fun and easy for even the busiest of us! Remember, if anyone asks, you’ve been planning these masterpieces for months!
Now all you need to do is choose your style – A – The easy pissy way, or B – the fast and crafty way:
A – EASY PISSY
Step 1: Gather Your Supplies
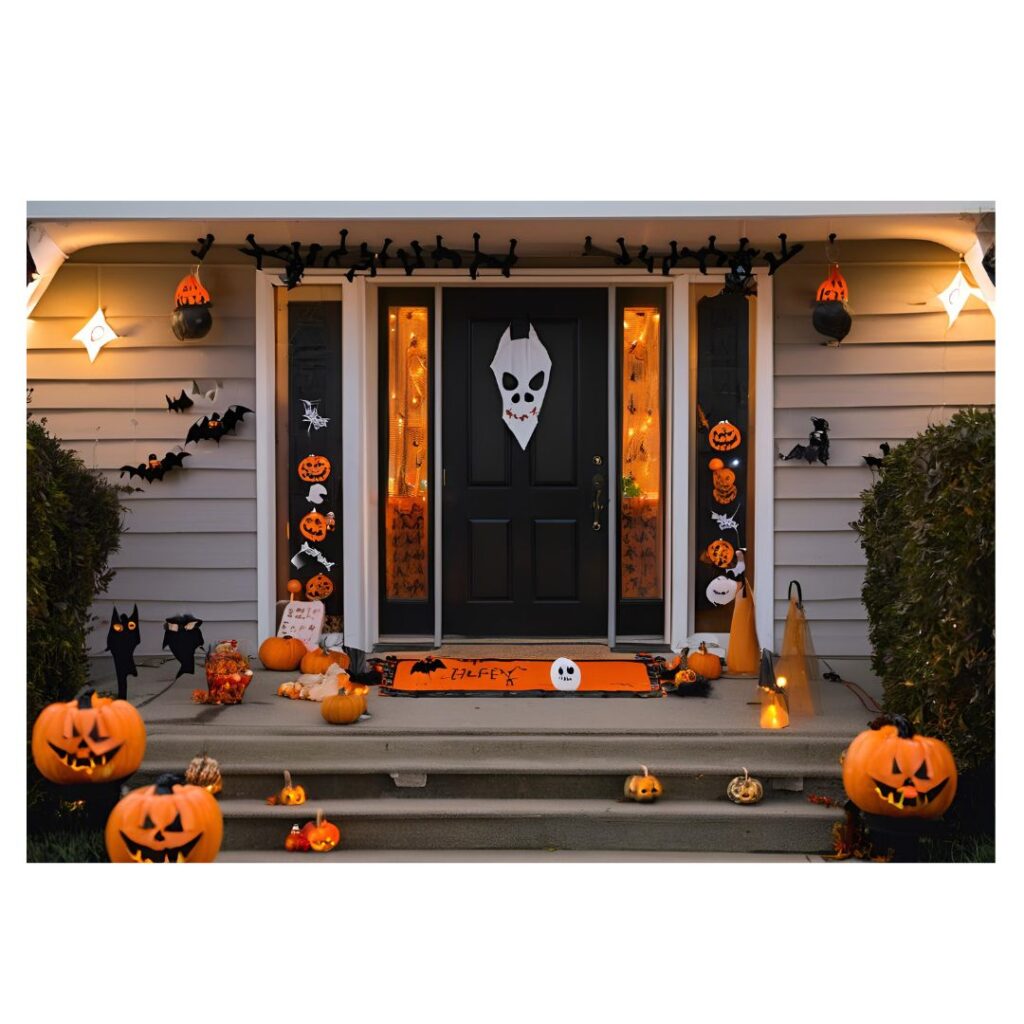
Before you start channeling your inner Martha Stewart (or maybe more like her slightly frazzled cousin), gather these essentials:
- – Black or orange garland (the spookier, the better)
- – Plastic spiders and bats (because why not?)
- – A cute Halloween-themed doormat (I have a DIY idea if you’re feeling crafty!)
- – LED lights (to illuminate those eerie vibes)
- – A basket or cauldron for candy
- – Some good old-fashioned creativity!
Step 2: Create Your Halloween Front Door Garland
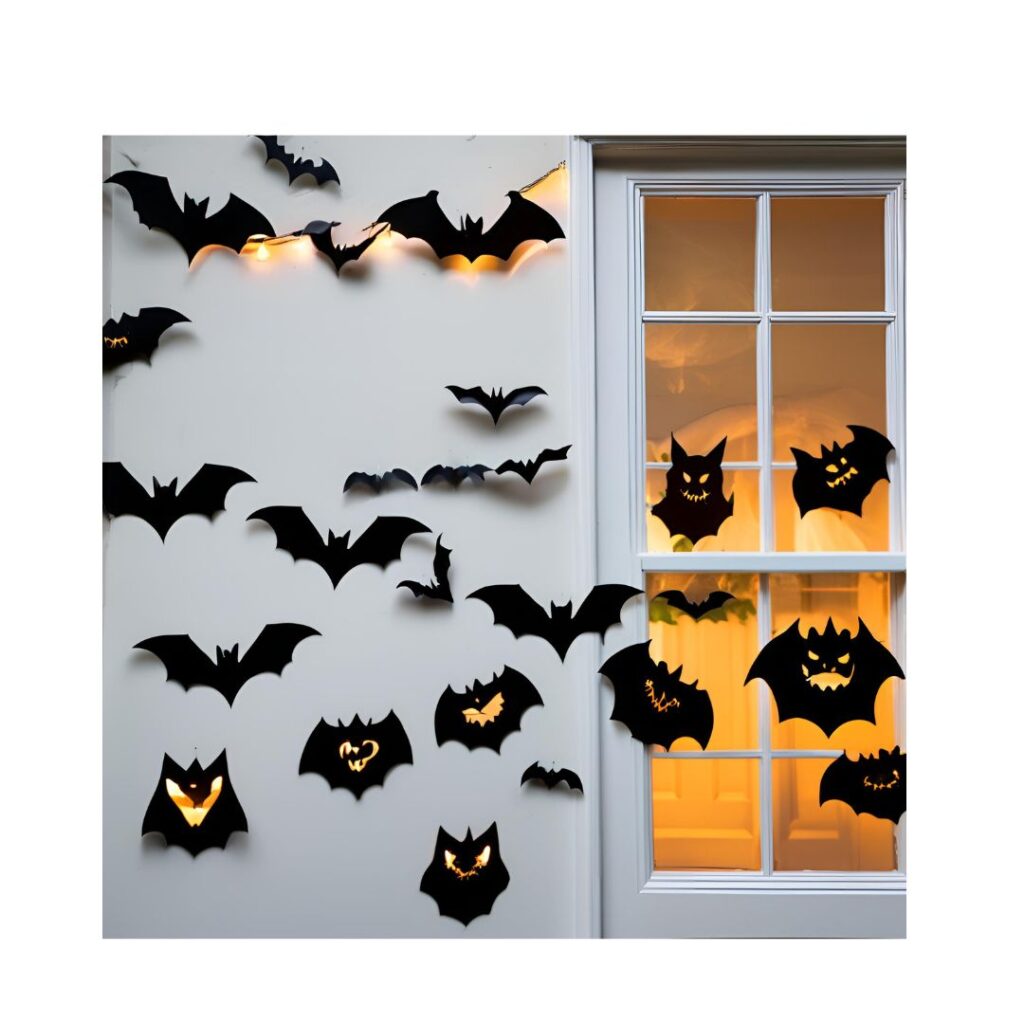
1. Take your garland and drape it across the top of your door. Secure it with tape or command hooks—no one wants to deal with a rogue garland mid-trick-or-treat!
2. Attach plastic spiders and bats using hot glue. Bonus points if they look like they’re about to fly at unsuspecting guests.
Step 3: Light it Up!
1. Wrap LED lights around your garland or along the edges of your door frame.
2. Make sure they’re on a timer so you don’t have to remember to turn them on every night—because let’s be real, who has time for that?
Step 4: DIY Your Doormat

Grab some paint and a plain doormat:
1. Use stencils or freehand “Keep Out” or “Boo!” on the mat.
2. Let it dry while you sip on some much-needed coffee.
Step 5: The Candy Basket Cauldron
Place a basket or cauldron by your front door:
1. Fill it with goodies—don’t forget gluten-free options for those health-conscious goblins!
2. Add a sign saying “Take One… Or Else!” just for dramatic flair.
Step 6: Finishing Touches
1. If you’ve got space, add a Halloween-themed table nearby with more decorations.
2. Consider hanging signs like “Caution: Zombie Zone” or “Enter If You Dare!” from your front door handle.
B – FAST & CRAFTY
1. The “Easiest Jack-O’-Lanterns Ever” Pumpkin Parade
Who says jack-o’-lanterns need to be carved? Not this mama who values her fingers!

You’ll need:
- 3-5 fake pumpkins (because perennial pumpkins are the gift that keeps on giving)
- Battery-operated lights (let’s save those fire-taming skills for birthday candles)
- A black Sharpie (your trusty wand for all things crafty)
steps:
- Arrange those pumpkins on your steps like you’re setting up a fancy pumpkin tea party. Congratulations, you’re already halfway there!
- Channel your inner Picasso and doodle some faces. Get your mini monsters on board and draw the scariest faces they can!
- Pop in the lights. Place a battery-operated light inside each pumpkin.
- Turn them on at night and voila! Instant Halloween mood without the pumpkin guts!

Time spent: 15-20 minutes (or however long it takes your kids to draw the spooky faces)
2. The “Shadows Come Alive” Silhouette Spectacle
Create an eerie scene that’ll have your neighbors wondering if you’ve finally lost it.
You’ll need:
- Black paper (time to raid that pile of your kid’s abandoned art projects – hey, we’re upcycling!)
- Scissors
- Tape
steps:
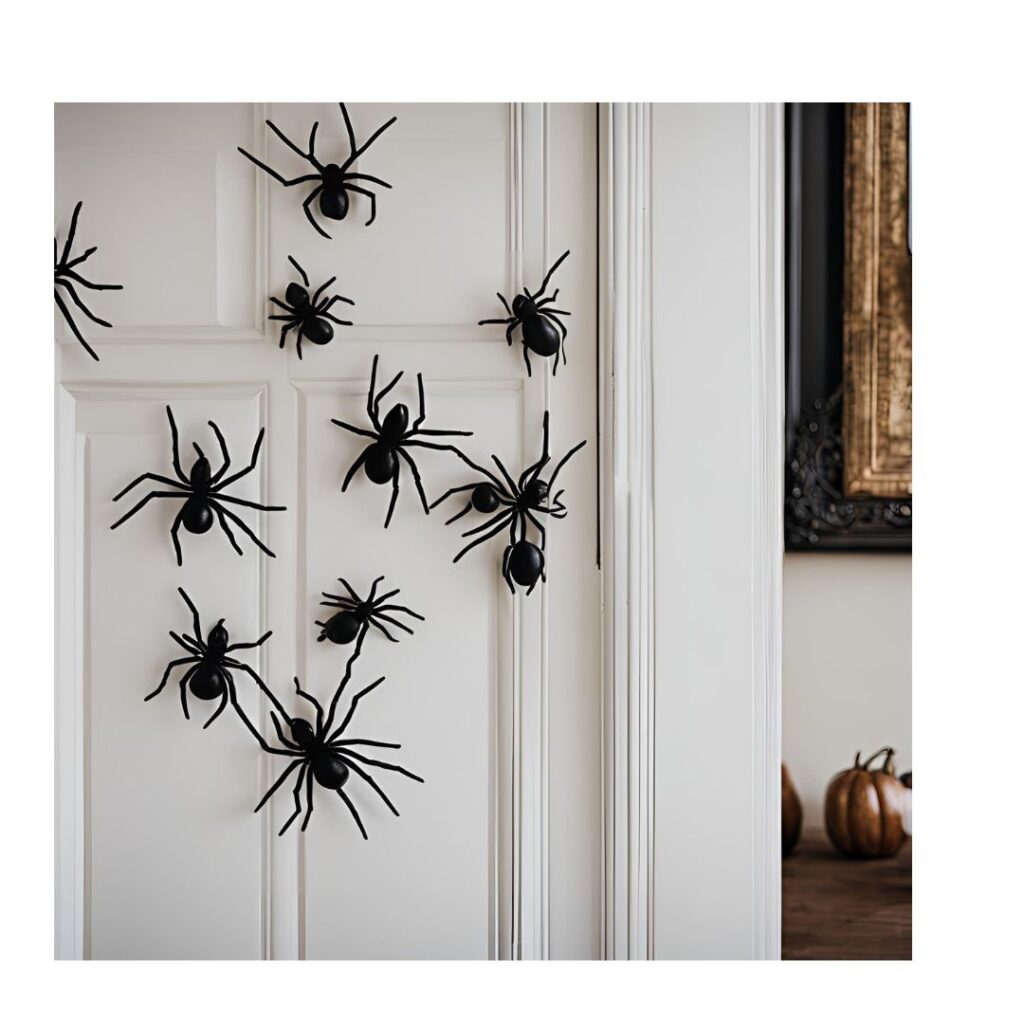
- Cut out spooky shapes. Think bats, cats, spiders & witches.
- Stick ’em on your front door window.
- Add a bright light behind for dramatic effect – Boom! Instant creepy vibes.
Time spent: 20-30 minutes (AKA one episode of your kids’ favorite show)
3. “Witch” Way to Park?
Because even enchanted vehicles need a designated spot!
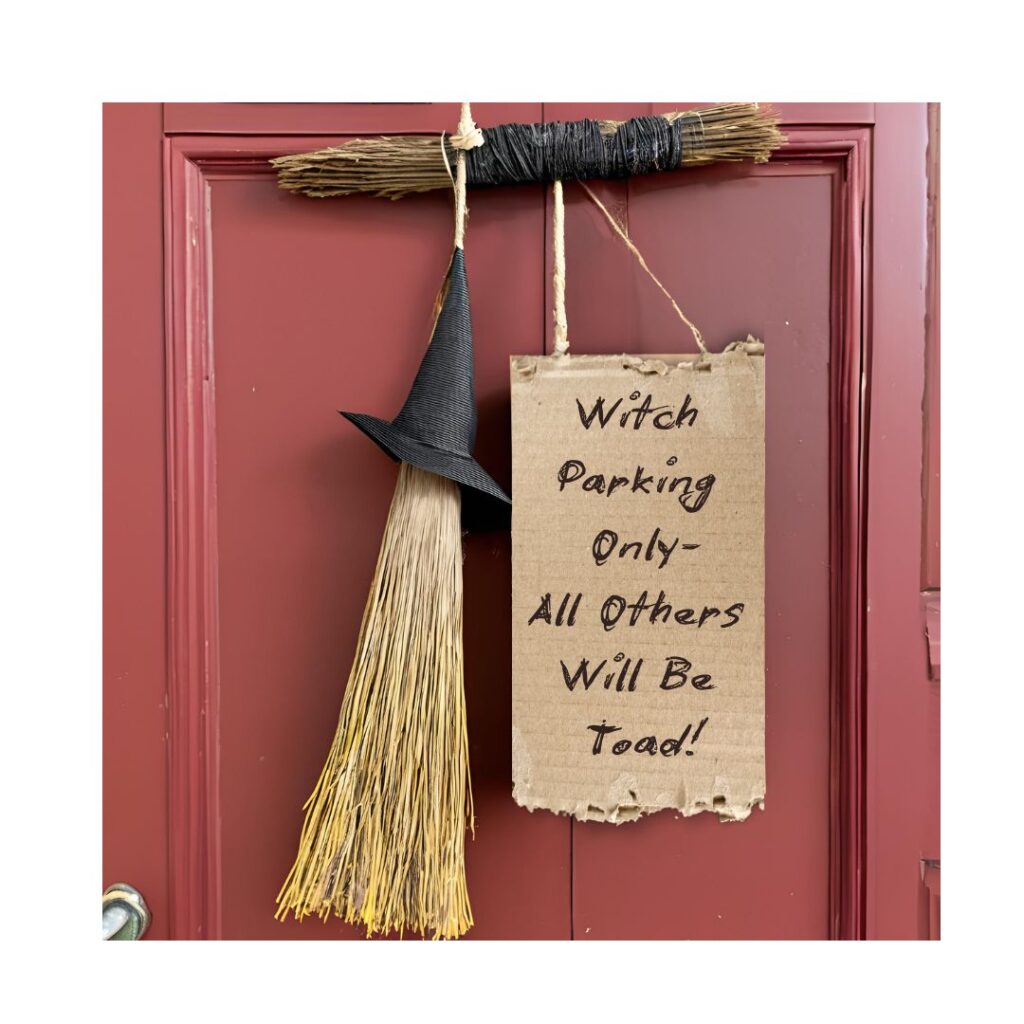
You’ll need:
- That old broom you swear you’ll use… someday
- Cardboard (AKA, that Amazon box you haven’t recycled yet)
- Markers
- String (or a fancy ribbon if you’re feeling extra)
steps:
- Cut a rectangle from your cardboard.
- Write “Witch Parking Only – All Others Will Be Toad!” Feel free to add glitter and cackle while doing this.
- Tie it to the broom with a flourish. This is your moment to shine!
- Prop it by your door and watch the smiles appear like magic.
Time spent: 10-15 minutes (perfect for that coffee break you definitely deserve)
4. The “Boo Crew” Ghost Garland #1
Perfect for when you want to be festive but not scare the pants off the neighborhood toddlers (or yourself when you forget it’s there at 2 AM).
You’ll need:
- White tissue paper (or those fancy napkins you’ve been saving for a special occasion)
- String (fishing line works great for that “floating” effect. Dental floss can also do the trick)
- Scissors
- Black marker
steps:
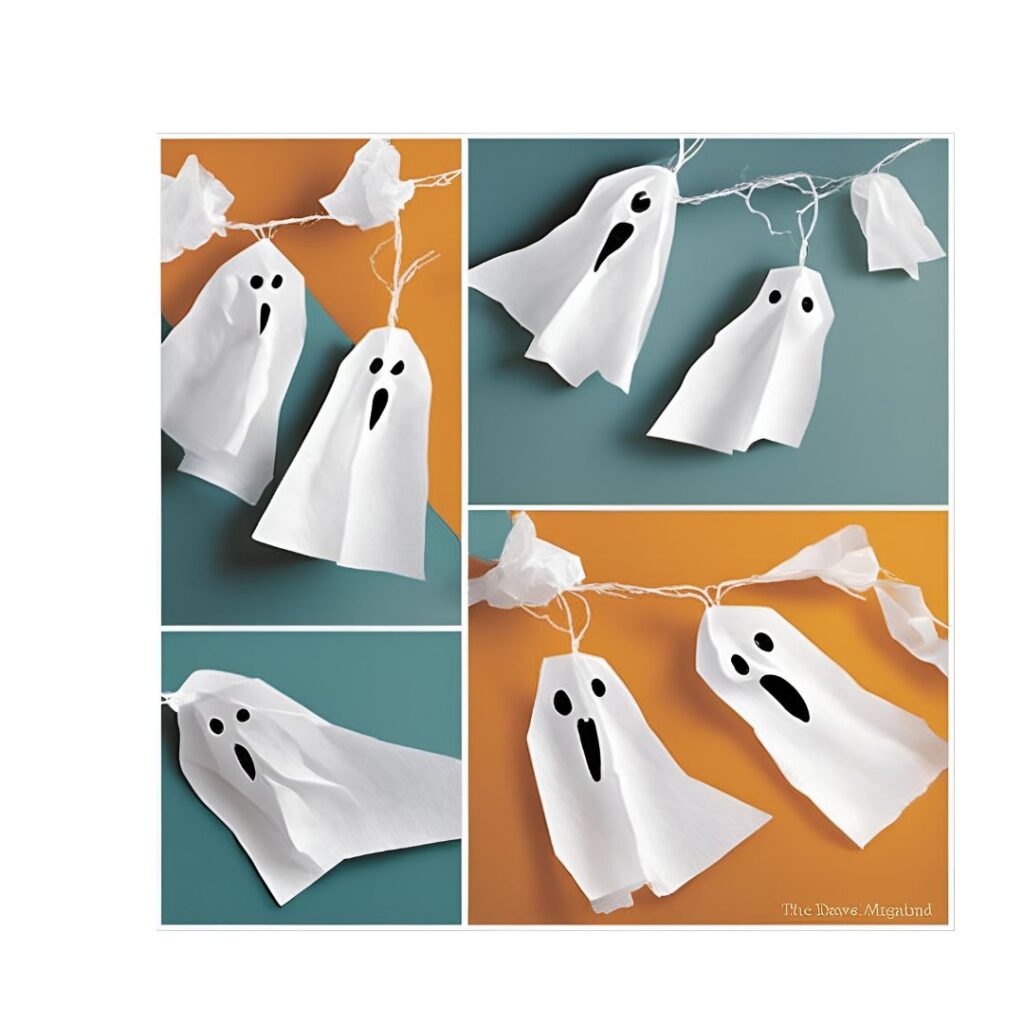
- Cut tissue paper into squares about 8×8 inches. Perfectly imperfect is the goal here!
- Crumple each square around your finger to form a ghost “head,” then twist the bottom slightly.
- Call up your kids and draw faces that range from sweet to silly. Ghost emotions are complex, you know!
- Tie each ghost onto the string, spacing them about 6 inches apart. It’s like threading popcorn, minus the snacking temptation.
- Hang your ghost gang and watch them flutter cheerfully in the breeze.
Time spent: 25-30 minutes (soundtrack: your favorite podcast or that playlist that always gets you grooving)
5. The “Boo Crew” Ghost Garland #2
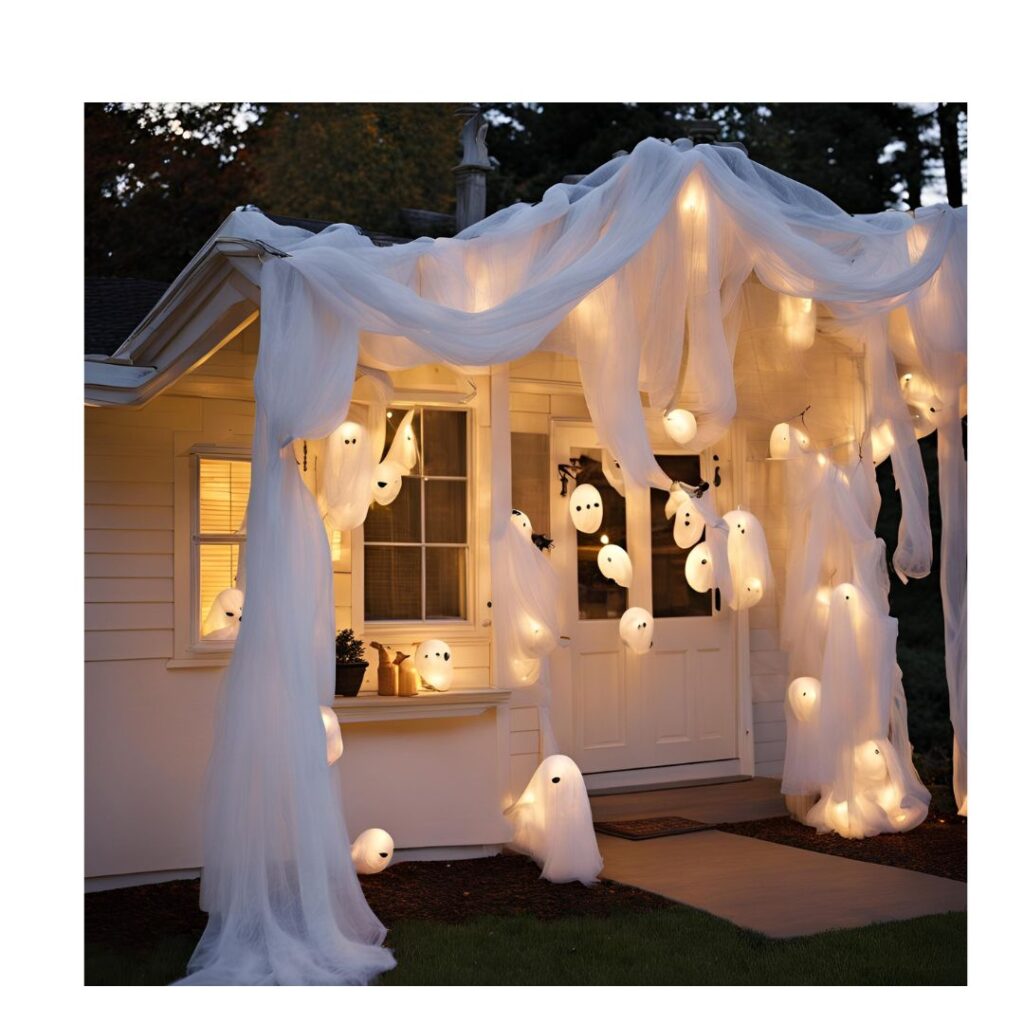
It’s like a party streamer, but make it spooky!
You’ll need:
- White balloons
- White cheesecloth
- Black felt (for eyes and mouth)
- String lights (battery-operated)
- Clear tape or glue dots
- Twine or string
steps:
- Blow up your white balloons to various sizes. Drape the cheesecloth over each balloon, letting it hang down to create a ghostly vibe.
- Cut out eyes and mouths from the black felt and attach them to the cheesecloth with clear tape or glue dots.
- Place a small bunch of string lights under each ghost, securing them with clear tape.
- Tie the string to each ghost’s head and string them together.
- Hang your garland across the top of your front door for a spooky, glowing welcome!
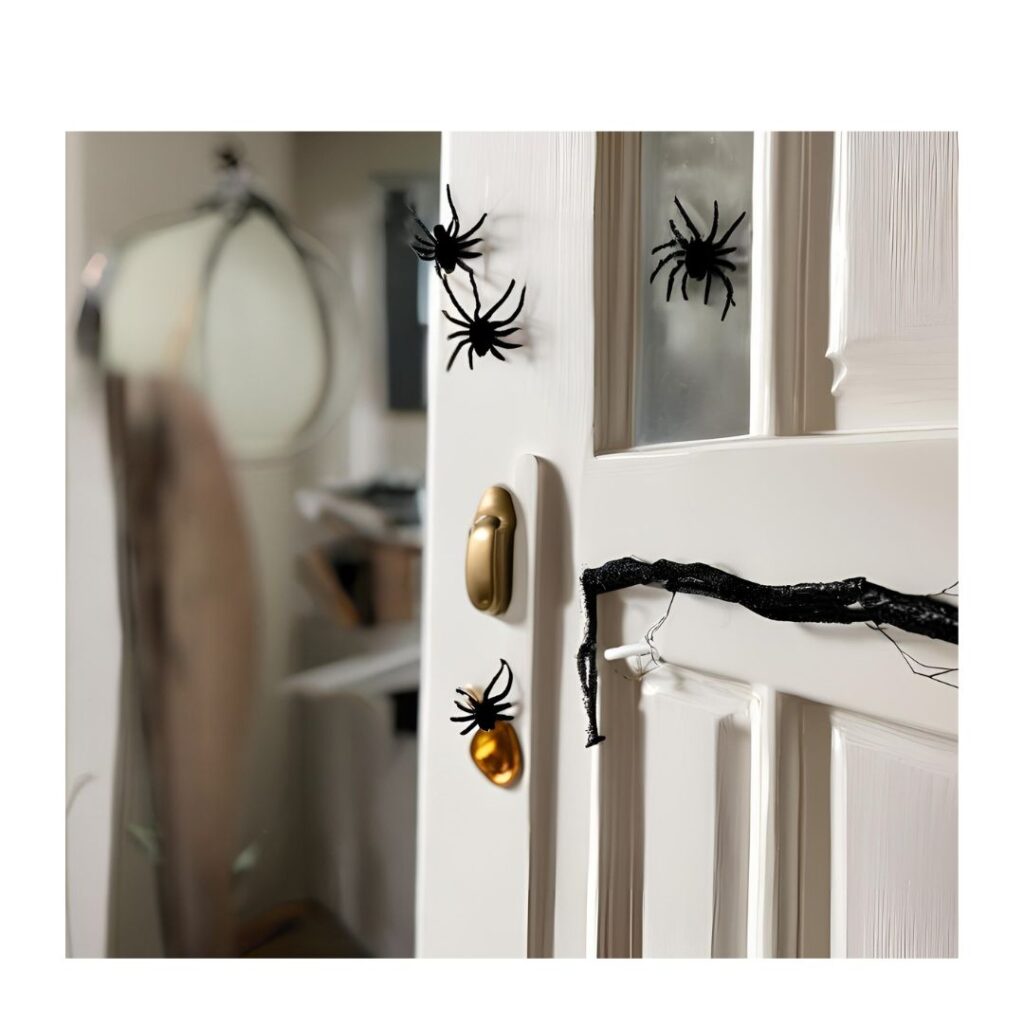
6. The “Creepy Crawler Welcome Committee” Invasion
Because nothing says “come on in” like an army of friendly(ish) bugs!
You’ll need:
- Fake spiders or insects (the bigger and goofier, the better)
- Double-sided tape or poster putty
steps:
- Stick tape or putty on your creepy crawly crew.
- Arrange them on your door like they’re gate-crashing your home.
- Add a big “mama” spider overseeing her brood.
- Step back and admire your door’s new guardians!
Time spent: 10-15 minutes (just enough time to get that second wind)
And there you have it, my fellow witch mamas! An eye-catching Halloween front door decor setup that’s perfect for us busy moms who want our homes to scream festive without losing our minds in the process!
Remember, the real magic of Halloween is in the memories you’re creating with your little pumpkins. So whether your door ends up looking like a Pinterest dream or a charming hodgepodge of spooky cheer, you’re rockin’ it! Now, if you’ll excuse me, I have a date with a costume that needs alterations and a bowl of candy that’s not going to sample itself. Happy haunting, supermoms!
